Showing posts with label Home. Show all posts

Monday, November 26, 2012

How to Fake a Bed Skirt


After doing a deep clean on our guest room I thought I would show you how I fake our bed skirt. We have risers for the bed so we can have storage underneath something that I hope we will not need one day. 


I always start in the corner, I only have one that I need to do right now as the bed is pushed up against one wall. I used a bit of brown paisley to add a little interest  I pinned it o the box spring with straight pins but you could use safety pins as well. 


It started as two table cloths I place one on the long side and one on the short side. Then pin in place. Have two people lift the mattress on so you do not pull your pins out. 


Dress your bed.


Yay, you are done.


Monday, November 19, 2012

Magic in Minutes Monday ~ New French Script Pillows

I love, love, love the little green notebook. I stalk that blog. I wished she posted more, several times a week I check and I am disappointed when it is a post I have already read. I have learned that Jenny does not disappoint. According to Pintrest I pinned this picture 29 weeks ago:


According to the date on my camera I took the pictures of these about seven months ago. But better late then never I thought I would still share these with you. If you read Jenny's post she got king sized  pillow cases and made two cases out of them with zippers. Well I hate zippers, maybe because I am not great at them. 


I ourchaced the fabric from Denver Fabric and it was quite a bit more expensive that I would usually pay. $22 - $25 a yard, but I love it and Mike loves it so I just measured out how much I needed (which I cannot remember at this point and had them cut it to size. I Ironed the hems that would be on each side so they would be perfectly coordinating, and I would only have to iron once. (smile)


Once all the seams are ready to be sewn fold the fabric in half so it can be ironed and cut evenly. 


Cut in half and fold to desired dimensions for me that was eighteen inches. 


Make two at once to make sure they are the same that the folds are at the same point. 


Refold inside out so that the sides can be hemmed, pin. At this point hem, then fold right side out and iron. Then use your markings on your sewing machine to make a dark line inset from the edging. I think I went around three or four times, but I did not take a picture. 


This is your final product. I always stuff in a pillow insert that is three to four inches larger than the pillowcase is to make them extra fluffy and full. 


On our couch. 

Monday, November 12, 2012

Magic in minutes Monday ~ Homemade Wallflowers

I have had wallflowers in my house for years and adored them. I was not deterred when some people told me that they can burn your house down, or cause damage to your house. Which I have never had an issue with. I saw this on Pintrest, I am always on the look out of ways that I can make things myself so that I know exactly what is in there, that I do not have to run to the store on a whim and it also usually has significant cost savings. That is when I learned that they contained VOCs. To be fair I have not been able to find any that did not contain them. I felt silly but after years and years of low VOC paint and such I was shocked that anyone would still have products that produced that compound. 

According to the EPA here are the heath ramifications of VOCS:


Eye, nose, and throat irritation; headaches, loss of coordination, nausea; damage to liver, kidney, and central nervous system. Some organics can cause cancer in animals; some are suspected or known to cause cancer in humans. Key signs or symptoms associated with exposure to VOCs include conjunctival irritation, nose and throat discomfort, headache, allergic skin reaction, dyspnea, declines in serum cholinesterase levels, nausea, emesis, epistaxis, fatigue, dizziness.
The ability of organic chemicals to cause health effects varies greatly from those that are highly toxic, to those with no known health effect. As with other pollutants, the extent and nature of the health effect will depend on many factors including level of exposure and length of time exposed. Eye and respiratory tract irritation, headaches, dizziness, visual disorders, and memory impairment are among the immediate symptoms that some people have experienced soon after exposure to some organics. At present, not much is known about what health effects occur from the levels of organics usually found in homes. Many organic compounds are known to cause cancer in animals; some are suspected of causing, or are known to cause, cancer in humans.
As someone who suffers from migraines and would like to limit my use or exposure of chemicals that can cause cancer I was on board. 
So following the tutorial this is what I did:

I started with a couple of empty wall flowers in my favorite sent eucalyptus spearmint.


Using a pair of pliers you have to pull out the wick. This can be a little tricky if it is not budging easily use a butter knife to loosen it out a little. 


Pull it out beware of the little nail.


You will then have some empty bottles. I filled according to the instructions about a third of the way full of essential oils. Twenty drops of spearmint and ten drops of eucalyptus, as eucalyptus is a super intense smell. 


Enjoy! I will report back on how they work out. 

Friday, May 4, 2012

The Daily Grind for Chris and Sandy

Last year my brother got married to Sandy. She is wonderful and they are great together. I wanted to get them the best gift (cash) as they needed to do some home improvement projects and they did not register. Besides that I wanted to get them a little something that when they used they thought of us. I happened to have some paint in their color scheme and when I was hanging out with them one day I noticed that they did not have salt and pepper shakers, I prefer grinders so I thought I would make them some. I also happened to see some napkin rings at the thrift store. 


To start off I washed them really well.


Then I sanded them. Here you can see the difference. I would not say that they were perfectly sanded but they were enough to hold the paint. 


For the tops I used a straw for the pepper mill and five toothpicks for the salt shaker.


I painted a few coats.


This is how they look in their kitchen. 


Friday, November 25, 2011

Drum roll please, presenting our new dinning room table

*This project was done about a year ago but I just realized that I never posted.

I was going to get my parent's dinning room table when they moved. I just needed the table, but then my brother needed a table and chairs and they all happened to match. And there was this other table. It had water damage on the top I sanded some and realized that it would sand out. It was the legs that really sold me.


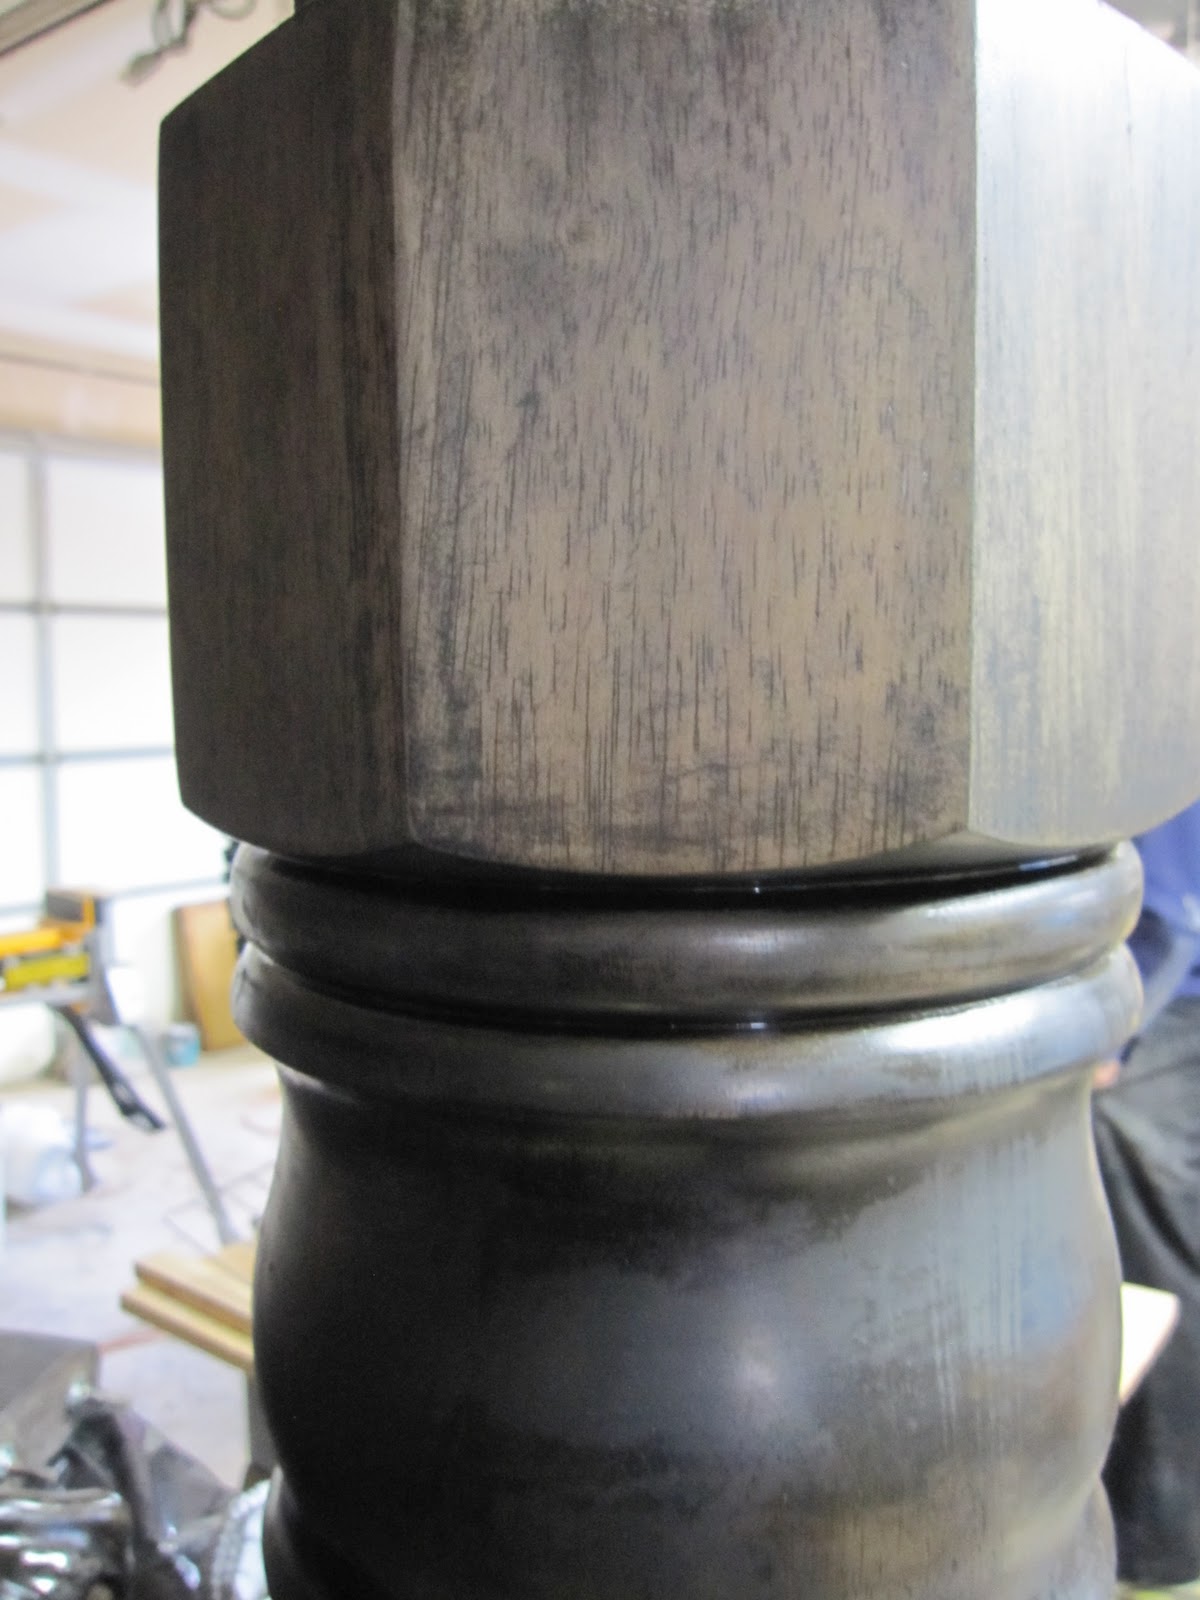
These are the legs mid sand. 


I had been working on this little by little for months. I am not very good at staining and it makes me nervous so I was procrastinating a little a lot. So it sat in the garage. Waiting for enough coats of stain for it to match the entertainment center since it is open concept. When we went up to the Miller's for the weekend we brought it up and the boys worked on it, well they started over on it.


The way that I had been staining it had not been right so they sanded it off and started over... :(


Then it really started to look good. 


And now the finished product:


 I still love the detail under the table top


But the top...


That star burst design.


To see the process on the chairs...

Linking:


Thursday, November 24, 2011

The Never-Ending Curtain Battle Until Now ~ Tricky Thursdays

I have been having a battle with the curtains in the master bedroom pretty much since we moved in. When everyone came out to help in the days before I told my mom that this was one of the projects that I wanted to get done. Needless to say mom and Mikey vetoed that idea. I finished them last month and it was so easy. I posted about us originally putting them up and then pulling them down and putting them back up and them still being to high here. Well the solution ended up being $.74, a little paint and some time. I found these at the ARC:


I painted them black with the General Finishes Lamp Black Milk Paint that I used in this project. So I painted them right over the existing finish which sounds so dangerous but I have done it so many times with this milk paint and it works so well. I think that I painted three coats then I sewed them on to the curtains I was able to use seven per panel. 


Now they are the right length! Yay!


Saturday, November 19, 2011

The chairs take three

Starting in 2005, I started bringing chairs home and storing them in my parents basement. Then I did not do any thing with them until a few years later in 2008. I sanded them down, reupholstered, and painted them. That was my apartment on my own. Now that there are two of us and we are in our condo Mikey thought it was time for a makeover. Here is the transition (it is a bummer that I do not have the before shots on all of them) :


This one will not have an after for a while as they have been done for a while and we have been using them and one day I was sitting in it. Thank goodness it was me and one of the legs broke in half. It flipped me over like a cartoon. Even though Mikey and Leonard bolted it back together I am holding some resentment still so I have yet to repaint. Plus on the way home it rained so it was in rain for 2 hours and more paint needs to be sanded off and reapplied more damage was done than you would think. 


RIP to this little chair it did not make the cut this time but I gave it to my friend Melissa so you will see it in a makeover soon.


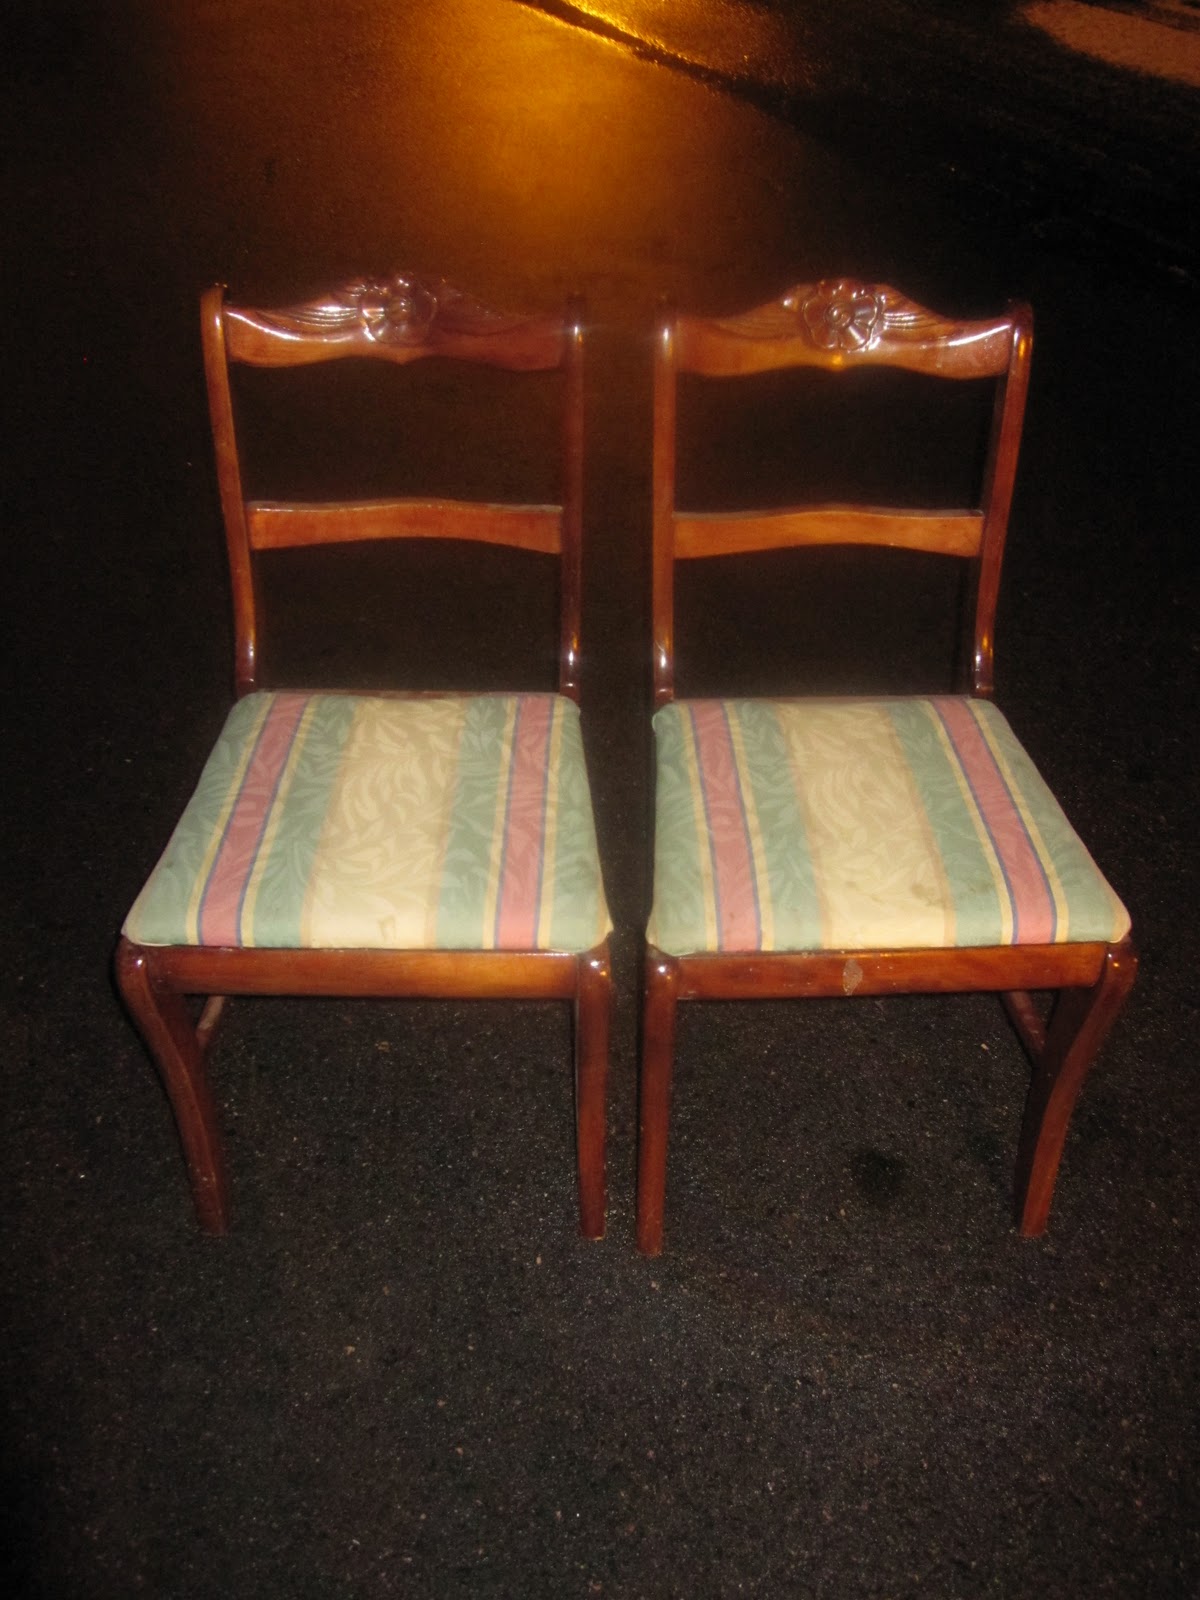
These sweet rose charmers I got at the ARC for $7.99 each


I covered them with this tweed fabric that I got at Joann's, I was there the other night and saw a guy buying a whole bunch to recover a slipper chair.


I loved the chair covers, so I changed them rather than getting rid of them. I ranted a few times about the stripping process and got so angry that I had to stop. I was talking to to my friend Cameron at work about and he said I have a sprayer. Just get them all ready and give me oil primer and oil paint in the color you want. Needless to say I got him the chairs and the paint with in a week or so. He got them back to me in a week and a half. Thank you Lemon! Then the reupholstering of the seats began:


You start by taking out a gazillion staples even the second pointless layer that attached a cover to the bottom of the chair, which no one ever sees and  I will not be doing again.  


 Have a couple of pairs of pliers and a bowl to put them all in.


Cut and iron your fabric


 Put down batting.


Then put down your thick chair batting.


I even spray adhered some misc pieces that I had left over from previous projects and it worked great.


Add your wood.


Pull fabric and batting tight and staple away. I always do the corners in angles. 


All done. Ready to reattach. And now the finished result:


The twins look great now don't they.


Love the sweet little detail.


These are so wonderful. 


Art deco is my favorite.


And these two. 


This is our work horse, it is the only one that is not upholstered. It really goes our guestroom but we painted it the same color so if we had a large party we could pull it out. 

Linked to: