Showing posts with label How-to. Show all posts

Monday, November 26, 2012

How to Fake a Bed Skirt


After doing a deep clean on our guest room I thought I would show you how I fake our bed skirt. We have risers for the bed so we can have storage underneath something that I hope we will not need one day. 


I always start in the corner, I only have one that I need to do right now as the bed is pushed up against one wall. I used a bit of brown paisley to add a little interest  I pinned it o the box spring with straight pins but you could use safety pins as well. 


It started as two table cloths I place one on the long side and one on the short side. Then pin in place. Have two people lift the mattress on so you do not pull your pins out. 


Dress your bed.


Yay, you are done.


Tuesday, November 20, 2012

Turkey Stock


Last week  we had a Thanksgiving at work. We had three turkeys and everyone brought in sides and desserts. On of my big regrets from the Christmas party last year, I almost took the ham bones home but then I was too embarrassed or something and I did not. Well, I did not make that mistake this year. When I left work today I left with tree turkey carcasses. While I got several weird looks I did not care. I was going to make turkey stock and freeze it for the winter. When I got home and was getting ready to break apart the turkeys I realized that there was a decent amount of meat left on there. So I started to shred the turkey in a much more personal hands on way then they were willing to do at work. I ended up with three pounds of turkey. Mind you these birds were only twelve pounds each so three pound of meat was pretty cool. I did not take any pictures of my disassembled turkey carcasses but I made  two batches of broth in my slow cooker, since it was already out from the pot luck. Here is the breakdown:
  • 1 1/2 turkey carcasses
  • 4 large carrots chopped in to large chunks
  • 4 stalks of celery chopped in to large chunks
  • 1 yellow onion chopped in to quarters
  • 4 cloves of garlic
  • 6 bay leaves
  • 2 Tablespoons of Ms. Dash 
  • 1 Tablespoon of thyme
  • 10 peppercorns
  • 12 cups of water
Put everything in the removal able iron insert and put it in on the stove on high heat for twenty minutes until it starts to boil then put it in the slow cooker base on high for 4 hours and then reduce it to low heat for 8.


After you refrigerate it overnight take it out and scrape out all the fat that has hardened on the top. 

Monday, November 19, 2012

Magic in Minutes Monday ~ New French Script Pillows

I love, love, love the little green notebook. I stalk that blog. I wished she posted more, several times a week I check and I am disappointed when it is a post I have already read. I have learned that Jenny does not disappoint. According to Pintrest I pinned this picture 29 weeks ago:


According to the date on my camera I took the pictures of these about seven months ago. But better late then never I thought I would still share these with you. If you read Jenny's post she got king sized  pillow cases and made two cases out of them with zippers. Well I hate zippers, maybe because I am not great at them. 


I ourchaced the fabric from Denver Fabric and it was quite a bit more expensive that I would usually pay. $22 - $25 a yard, but I love it and Mike loves it so I just measured out how much I needed (which I cannot remember at this point and had them cut it to size. I Ironed the hems that would be on each side so they would be perfectly coordinating, and I would only have to iron once. (smile)


Once all the seams are ready to be sewn fold the fabric in half so it can be ironed and cut evenly. 


Cut in half and fold to desired dimensions for me that was eighteen inches. 


Make two at once to make sure they are the same that the folds are at the same point. 


Refold inside out so that the sides can be hemmed, pin. At this point hem, then fold right side out and iron. Then use your markings on your sewing machine to make a dark line inset from the edging. I think I went around three or four times, but I did not take a picture. 


This is your final product. I always stuff in a pillow insert that is three to four inches larger than the pillowcase is to make them extra fluffy and full. 


On our couch. 

Monday, November 12, 2012

Magic in minutes Monday ~ Homemade Wallflowers

I have had wallflowers in my house for years and adored them. I was not deterred when some people told me that they can burn your house down, or cause damage to your house. Which I have never had an issue with. I saw this on Pintrest, I am always on the look out of ways that I can make things myself so that I know exactly what is in there, that I do not have to run to the store on a whim and it also usually has significant cost savings. That is when I learned that they contained VOCs. To be fair I have not been able to find any that did not contain them. I felt silly but after years and years of low VOC paint and such I was shocked that anyone would still have products that produced that compound. 

According to the EPA here are the heath ramifications of VOCS:


Eye, nose, and throat irritation; headaches, loss of coordination, nausea; damage to liver, kidney, and central nervous system. Some organics can cause cancer in animals; some are suspected or known to cause cancer in humans. Key signs or symptoms associated with exposure to VOCs include conjunctival irritation, nose and throat discomfort, headache, allergic skin reaction, dyspnea, declines in serum cholinesterase levels, nausea, emesis, epistaxis, fatigue, dizziness.
The ability of organic chemicals to cause health effects varies greatly from those that are highly toxic, to those with no known health effect. As with other pollutants, the extent and nature of the health effect will depend on many factors including level of exposure and length of time exposed. Eye and respiratory tract irritation, headaches, dizziness, visual disorders, and memory impairment are among the immediate symptoms that some people have experienced soon after exposure to some organics. At present, not much is known about what health effects occur from the levels of organics usually found in homes. Many organic compounds are known to cause cancer in animals; some are suspected of causing, or are known to cause, cancer in humans.
As someone who suffers from migraines and would like to limit my use or exposure of chemicals that can cause cancer I was on board. 
So following the tutorial this is what I did:

I started with a couple of empty wall flowers in my favorite sent eucalyptus spearmint.


Using a pair of pliers you have to pull out the wick. This can be a little tricky if it is not budging easily use a butter knife to loosen it out a little. 


Pull it out beware of the little nail.


You will then have some empty bottles. I filled according to the instructions about a third of the way full of essential oils. Twenty drops of spearmint and ten drops of eucalyptus, as eucalyptus is a super intense smell. 


Enjoy! I will report back on how they work out. 

Friday, May 4, 2012

The Daily Grind for Chris and Sandy

Last year my brother got married to Sandy. She is wonderful and they are great together. I wanted to get them the best gift (cash) as they needed to do some home improvement projects and they did not register. Besides that I wanted to get them a little something that when they used they thought of us. I happened to have some paint in their color scheme and when I was hanging out with them one day I noticed that they did not have salt and pepper shakers, I prefer grinders so I thought I would make them some. I also happened to see some napkin rings at the thrift store. 


To start off I washed them really well.


Then I sanded them. Here you can see the difference. I would not say that they were perfectly sanded but they were enough to hold the paint. 


For the tops I used a straw for the pepper mill and five toothpicks for the salt shaker.


I painted a few coats.


This is how they look in their kitchen. 


Monday, March 26, 2012

Scrabble Tile Coasters

As  far as pintrest goes I am officially addicted. I have also recruited others some days I feel great about that and other days well I feel like I am responsible for them spending countless hours in front of their computer doing a whole lot of pinning and not much of anything else. I will admit that there are not that many things that I have actually done from my pins. I think I am probably at 5 out of a thousand:
·         Scrabble tile coasters
·         Homemade laundry soap
·         Homemade hand soap
·         Branch art
Oh wow did I say 5 I meant 4… In my defense I have cooked a lot of recipes, I have been off grid for a few months and I am aware that I never posted anything about our new year’s and regifting party but we did make everything from recipes that I discovered on pintrest. Anyway when I saw Hi Sugarplum’s pintrest challenge I thought that I should get out some of the pictures that I have been taking as I was doing projects lately and actually um, post about them. I have been really frugal lately and I have been trying to only do projects that I already have all of the elements for without purchasing anything.  Between the wedding and the leftovers from the vow scrabble tile art I did (more on this later) I had everything I needed except felt. I found three dollars in my change jar and went to town, and by town I mean Joann’s.
Supplies
·         Stiff felt
·         Scrabble tiles in the appropriate combination to make the words you want
·         A friend or in my case a husband to brainstorm words with you
·         Glue I used that super effective but stinky  E5000 glue I am sure you could use hot glue too
·         Spray poly in semi gloss
As this is a pintrest challenge in the spirit of full disclosure as mimicry is the highest form of flattery I happened across these coasters on pintrest. I immediately loved them , as I love scrabble and I used tiles in my wedding. They are sentimental as well.  While I love Esty and I have supported many artisans from there, I was not completely happy with these. I could do this myself, I could use tiles from my wedding J,  I did not like all the words that they used, mainly oily which in context of a drink frankly grosses me out, even though I am sure this relates to some glorious alcoholic beverage that I am unaware of it makes me think of that commercial that is talking about how advertising can make anything look good, it looks like they are poring a tall glass of iced ginger ale and as the camera goes wider you see that it is motor oil, yuck! Second was diet, I am hypo glycemic and it is really bad for me to have fake sugar, it kind of wacks me out, kind of like margarine it does not compete with butter at all, I would rather have less and have the real thing.


Back to the project, I started by forming the coasters out of words I liked that pertained to drinks each set has 4 coasters and all have a theme of sorts. Be aware that the tiles are not square they are rectangle. After I figured out all of the words and had my groups I cut my felt and then I began to glue. Online there are a lot of tutorials for this but what I found works best is to first glue the top row and then glue the left and glue out the rest insuring that they stay straight. The reason I picked the stinky glue (make sure you have great ventilation when using this stuff) is it remains plyable for a long time after it is applied to the surface so if you have to adjust you can.


When it came to sealing I also went away from the norm, many people leave them unsealed besides what is already there. I tried this for a while but I saw some water rings forming and as that is what coasters are to prevent it was too much. Some people covered in modpodge but as soon as that got damp from condensation it would become glue like again. Others yet used poly some made pretty thick coats that actually added stability as it sealed all the cracks but it had too much of a Joe’s Crab Shack feel for me. I went with six thin coats of poly acrylic in semi gloss and this is what I got. 

Wednesday, March 21, 2012

Cherry Blossoms in DC

 My great friend Kristy was in Washington DC this last week and was sending me text messages of how much she wished I was there as it is on my bucket list to go to DC when the cherry blossoms are in bloom. My wonderful husband took me a few years ago but sadly they were not really blooming yet so we will have to go back. Being a wonderful husband he bought me a Tiffany’s bracelet on that trip that we thought looked like cherry blossoms even though the lady there told us they were not, which we both thought was funny and odd.  I found these vintage prints when I was antiquing with the other Christy in Florida a few years back.


 We found this great shop and I got so many things that day, four of these prints, cherry blossom wall carvings, the tiara that I wore at my bridal shower many other great things. Now I have always wanted these framed and as I did not want to spend the money on custom frames I put the dimensions in my phone and I looked at the frames with mats every time I went thrifting, which if you know anything about me is a lot I finally found some with the right dimensions and I purchased them. Really I do not think the world will miss these geese:


or these pastel flowers circia 1884.


 I took the pictures out gave the frames and the glass a good scrubbing and then I painted the frame and the mat black. This is not the first time doing this and it turns out great the trick is to take your time you have to do very thin coats on the mat and you never want to do it when you are in a hurry. After making sure that everything is really dry, I gave it a day or two and  I reassembled it and Voila!


Friday, November 25, 2011

Drum roll please, presenting our new dinning room table

*This project was done about a year ago but I just realized that I never posted.

I was going to get my parent's dinning room table when they moved. I just needed the table, but then my brother needed a table and chairs and they all happened to match. And there was this other table. It had water damage on the top I sanded some and realized that it would sand out. It was the legs that really sold me.


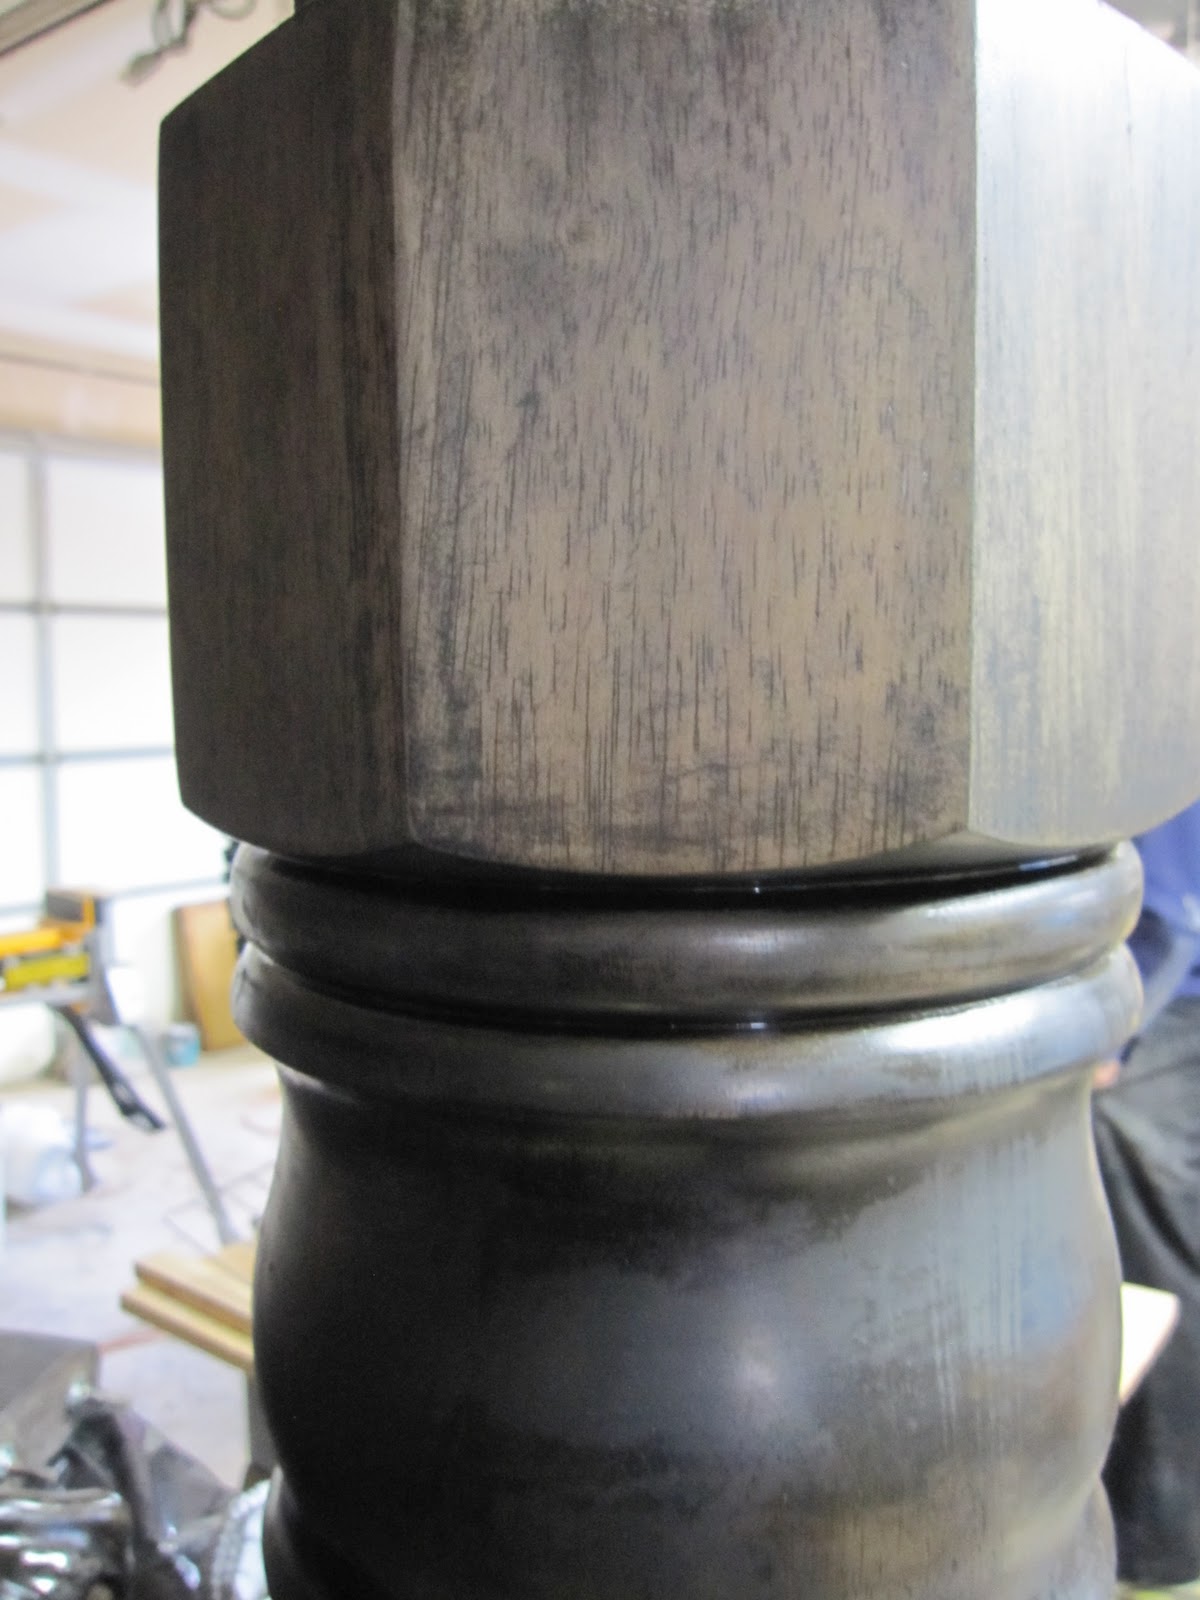
These are the legs mid sand. 


I had been working on this little by little for months. I am not very good at staining and it makes me nervous so I was procrastinating a little a lot. So it sat in the garage. Waiting for enough coats of stain for it to match the entertainment center since it is open concept. When we went up to the Miller's for the weekend we brought it up and the boys worked on it, well they started over on it.


The way that I had been staining it had not been right so they sanded it off and started over... :(


Then it really started to look good. 


And now the finished product:


 I still love the detail under the table top


But the top...


That star burst design.


To see the process on the chairs...

Linking:


Thursday, November 24, 2011

The Never-Ending Curtain Battle Until Now ~ Tricky Thursdays

I have been having a battle with the curtains in the master bedroom pretty much since we moved in. When everyone came out to help in the days before I told my mom that this was one of the projects that I wanted to get done. Needless to say mom and Mikey vetoed that idea. I finished them last month and it was so easy. I posted about us originally putting them up and then pulling them down and putting them back up and them still being to high here. Well the solution ended up being $.74, a little paint and some time. I found these at the ARC:


I painted them black with the General Finishes Lamp Black Milk Paint that I used in this project. So I painted them right over the existing finish which sounds so dangerous but I have done it so many times with this milk paint and it works so well. I think that I painted three coats then I sewed them on to the curtains I was able to use seven per panel. 


Now they are the right length! Yay!


Wednesday, November 23, 2011

Escort Card Holder & Entry Table ~ Wedding Wednesday

I wanted the table on the way in to have more than just the guest table. Nat got us a finger print tree that he had custom made for us, it was an aspen grove instead. Mikey and I found this:


I asked Mary my mother in law if she could pick up some navy milk paint. It happened to be on clearance so she got it for $1.


I sanded it down so the paint would stick.


Then I painted.


Here it was all assembled at the reception.


Signing the guest book, and leafing your fingerprint. 


Afterwords I gave this to my friend Shantel she uses the escort card holder as a potty training chart. She keeps prizes in the cubbies.